Brighton & Hove based screen printer Patrick Edgeley creates limited edition screen prints that employ bold, hand drawn text and imagery. Americana, signs, packaging and pop culture are a great influence in these hand printed works.
A love for all things typographical can be seen through out his screen prints, something that stems from his many years work as a graphic designer. The screen prints are produced in short, limited edition runs and are available from his website, various galleries and exhibitions around the world.
“My work has changed direction in recent years to now include collaging of imagery mixed with panels of colour. As always I’m inspired by the 20th century, especially Americana. It’s optimism for space travel, the latest gadget or quirky packaging promoting artificial flavours and radiation and of course not forgetting its fantastic colourful, kitsch packaging.
I have moved away from somewhat purposeful naive drawings to utilising more vintage images from the 40s to 80s, incorporating them into carefully balanced, thought out collages that are then transformed into hand printed silkscreen images.”
Below is a glimpse into how these prints are created, not by the mere press of a button, but by a process that goes back as far back as 960 AD. Screen printing reached great popularity in Europe in 18th & 19th centuries and is still used today in a vast array of products, from motifs on cardboard boxes, printed circuit boards and was of course utilised by artists and made popular by the likes of Eduardo Paolozzi, Peter Blake, Peter Phillips and Andy Warhol.
“I love the whole sequence of actions when producing a print. I tend to push myself to see just what I can achieve, either in number of colours I use, complexity of design or experimenting with techniques. It can be a slow, frustrating process at times when the result doesn’t quite match your expectation, but these moments can also be a positive, steering you into a another direction with the print, helping to shape it like a painting. You simply don’t get with a press of a button on a inkjet printer, each screen print, although subtle, has it’s own uniqueness!”
How the Screen prints are created
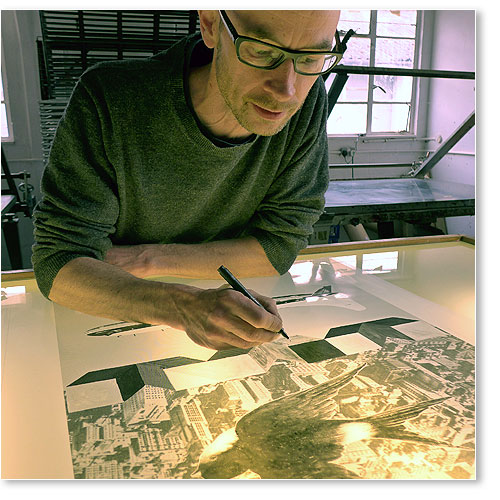
Artwork & positives
The first step I take after I have separated the art work into various colours, is to make a set of positive films.
This, simply put, is a positive of each layer you require in your print, put onto transparent film.
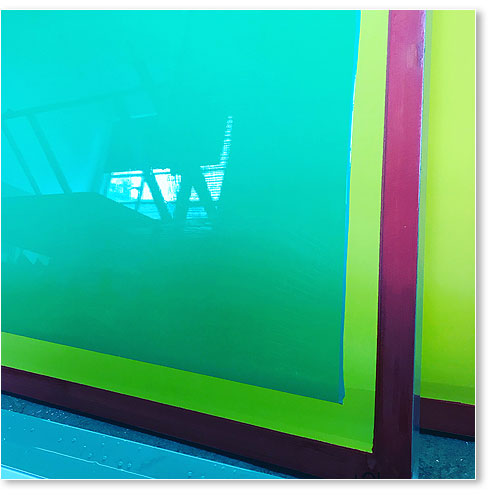
Coating the screen
Coating the screen is a matter of applying a thin coat of light sensitive liquid emulsion, not too dissimilar to that used on a roll of photographic film, to the surface of your screen and then leaving it to cure in a dark room.
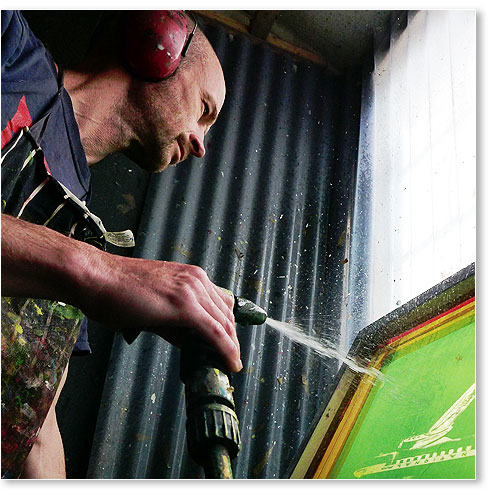
Exposing & washing out the screen
When the positive is placed on the exposure unit under the dried emulsion covered screen, the screen is exposed to a powerful U.V light for a predetermined amount of time, this cures areas of the screen that are left blank. However for the areas under the positive that are black, i.e my image or markings, light is unable to get to the screen and is therefore not cured. This screen is taken to a wash booth and gently hosed off to reveal the image I want to print and set aside to dry.
Mixing colours
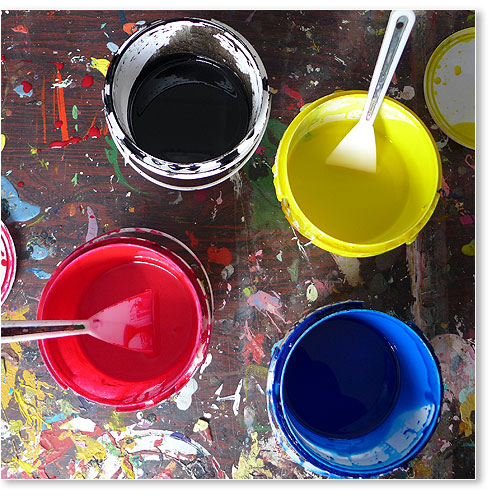
The mixing of the colours is one of the things I love the most. Inks are usually mixed with a printing medium to slow the drying time down, avoiding it from drying into the screen, especially needed on hot days. Acrylic is one of the most popular inks and there are a variety of these on the market all giving varied results. Generally the more you pay for an ink the more pigment is in it and the more vibrant the colours.
Oil based requires a lot more cleaning and obviously is not as environmentally friendly but produces some great results. I generally use acrylic mainly with oil for gloss spot colours as in my opinion acrylics aren’t quite there yet for this.
Adjustments
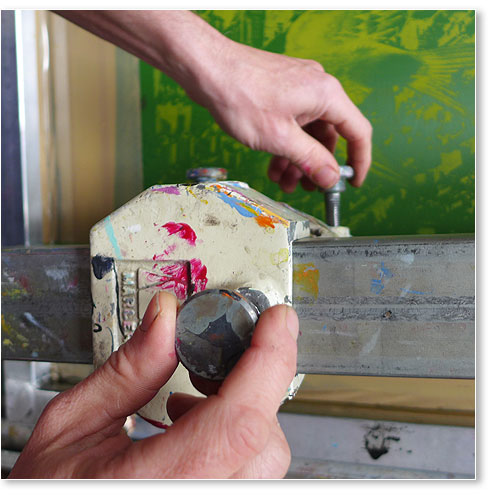
Once the screen is clamped into place on the screen bed then various adjustments are made to allow for the correct snap off (distance between the bed and the print, allowing the screen not to stick to the paper or material you are printing on to literally ‘snap away from it’)
Pulling ink across screen & registration
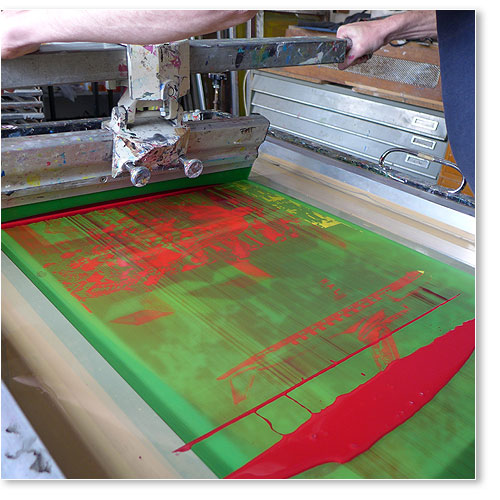
Some printers pull by hand while others use an arm on the screen bed. I use the arm of the bed as this allows me to apply a similar pressure to each print, and on a long print run can really save my arms, giving more consistency which is imperative especially in complex prints. However it’s done it can be pretty physical. Paper or material is placed onto the screen bed which has tiny holes to allow a vacuum to keep the paper in place, each print is placed in the same position using registration tape.
Laying down the colours
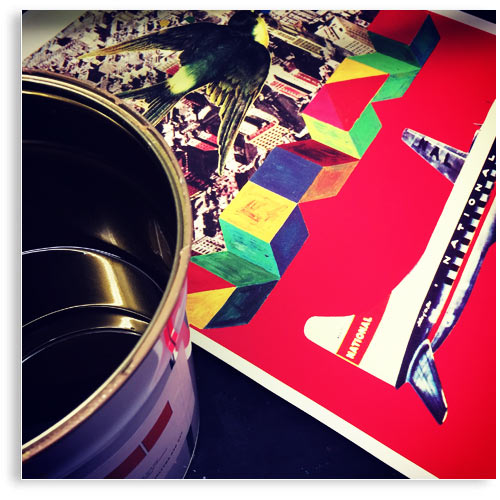
The ink is pulled across the screen to flood it and an amount of pressure is applied to push the ink through the screen to produce the first layer of colour, which is generally the lightest colour, subsequent colours applied after are usually more opaque or darker, depending on the desired effect.
Each print is then placed on a drying rack and allowed to dry fully. The next layer is then lined up using acetate and registration tape and so the process starts again until all the colours are complete.
